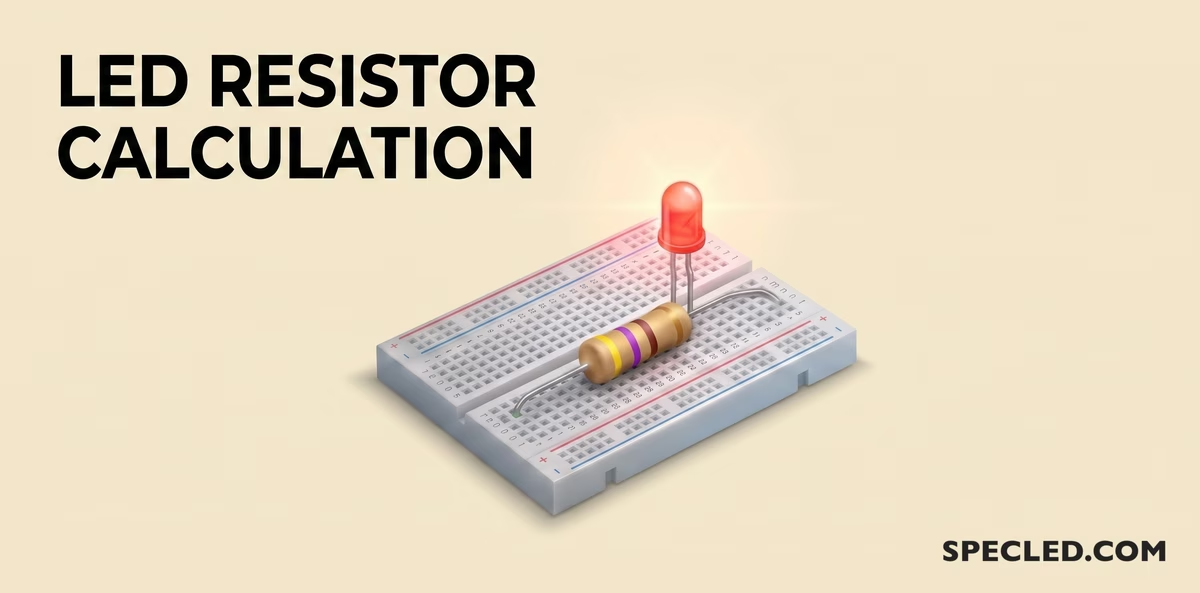
An LED (Light Emitting Diode) is not an incandescent lamp. You cannot simply connect it directly to a battery or power supply. Without limiting the current flowing through it, the semiconductor crystal will instantly overheat and fail. That is why a passive component that limits current — a resistor — must be present in any basic LED circuit. At the very top of this page, we have provided a convenient **led resistor calculator** that will do all the math for you, but for a deep understanding of the processes, we recommend reading the theory below.
To calculate a resistive voltage divider, you can refer to the article: resistive voltage divider↗ — the calculator computes the output voltage of the resistive divider, the divider current, and the required power rating of the resistors. Our resistive divider calculator works in both directions: calculating the resistance or calculating the target voltage.
Why do you need a LED current limiting resistor?
Unlike classic light sources, an LED is driven by current, not voltage. The main problem lies in its non-linear Current-Voltage characteristic (I-V curve). Below a certain point (activation threshold), the LED does not conduct current. However, once the power supply voltage exceeds the crystal's forward voltage drop (typically 1.8V to 3.4V depending on color), the LED's internal resistance drops sharply.
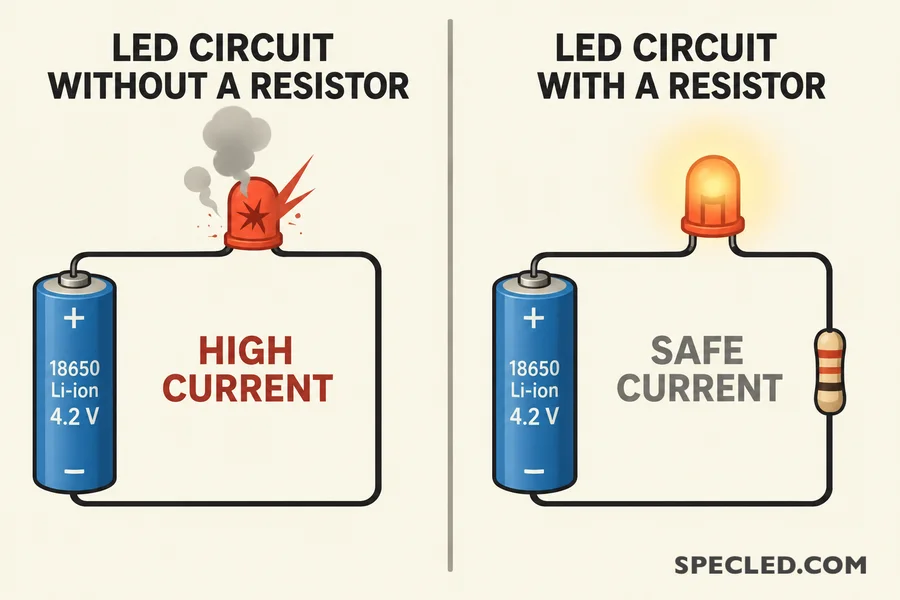
If there is no limiter in the circuit, the current will tend to approach infinity. This causes a thermal runaway effect, which burns out the crystal within a fraction of a second. To prevent this, a led current limiting resistor is installed in series within the electric circuit. It acts as a "buffer," absorbing excess voltage and strictly setting the operating current, thus ensuring the long and stable operation of the lighting device.
How does our led resistor calculator work?
The **led resistor calculator** located at the top of the page was designed as a professional engineering tool. It doesn't just calculate a dry mathematical model; it provides ready data for assembling a real circuit. Here are its main features:
- Standard Component Selection (E24): The calculator won't suggest you buy a 137 Ohm resistor, which doesn't exist in our standard series. It automatically rounds the calculated resistance to the nearest standard value in the E24 series, rounding up for the safety of the LED crystal.
- Power Dissipation Calculation: The tool immediately calculates how many watts of heat will be generated on the resistor and recommends the minimum power rating for the component itself, ensuring the resistor does not overheat or burn out over time.
- Efficiency Assessment: The widget clearly demonstrates the energy efficiency of your circuit. The more voltage drop across the resistor, the more energy is wasted heating the air.
How to do manual LED resistor calculation? (Formula)
If you do not have Internet access (got banned on Google?) or need to perform calculations on paper, doing a manual **LED resistor calculation** is very easy. All the mathematics are based on Ohm's Law for a circuit section.
The academic formula is as follows:
R = (Vin - Vled) / I
Where:
- R — the required resistance of the current limiting resistor in Ohms (Ω).
- Vin — your power source voltage (Volts).
- Vled — the forward voltage drop of the LED itself (Volts). It depends on the color: for reds, it's about 2.0V; for blues and whites, it's around 3.0-3.3V.
- I — the rated operating current of the LED in Amperes. Please note: datasheets specify current in milliamperes (mA). For the formula, a value of 20 mA must be written as 0.02 A.
Practical example: picking a resistor for LED 12V supply
Let's consider the most popular task in hobbyist practice. Suppose you want to connect a standard white super-bright LED to a car's onboard network(?) or a regular power supply. You need to correctly select a resistor for LED 12V supply.
Initial data from technical documentation:
- Power source voltage (Vin) = 12 V
- White LED forward voltage drop (Vled) = 3.2 V
- Rated current (I) = 20 mA (0.02 A)
Plugging the values into the formula: R = (12 - 3.2) / 0.02 = 8.8 / 0.02 = 440 Ω.
The nearest standard E24 resistor value rounding up is 470 Ohms. That is exactly what you should use when soldering.
This was an excellent example of a common MISTAKE made by beginners because, in a passenger car, moped, or motorcycle onboard network, the voltage is always higher and equals the full charge voltage of the lead-acid battery = 14.5V! You should take 14.5 Volts as the starting voltage for passenger cars. For heavy machinery with a 24-volt system, choose 26.5 V as the starting voltage.
Ready calculation example for an indicator **LED 12V** supply (actually 14.5V): resistance is 620 Ohms, recommended power rating is 0.5 W. Suitable for connecting one white, blue, or green LED; the resistor will limit the LED current to 20mA.
Ready calculation example for an indicator LED 24V supply (actually 26.5V): resistance is 1.2 kΩ (1200 Ohms), recommended power rating is 1 W. Suitable for connecting one white, blue, or green LED; the resistor will limit the LED current to 20mA.
Selecting the correct current limiting resistor ensures the longevity and reliable operation of the LED. For precise calculation, always use our **led resistor calculator**.
After calculating the required resistance, you might need a resistor color code calculator↗, as color band coding is the global standard for axial resistors.
Resistor Power Rating: Why resistance is only half the battle?
Many beginner electronics hobbyists know how to calculate Ohms but forget about Watts. If you install a tiny 0.125 W resistor in a powerful circuit, it will quickly turn black, smoke, and burn out. The electrical power dissipated on the component as heat is calculated using the formula:
P = ΔV × I
Where ΔV — the voltage dropped by the resistor (in our example, it's 8.8 V).
Calculating the thermal load: P = 8.8 × 0.02 = 0.176 W.
Good practice in electronics is to leave a power safety margin of at least 1.5–2 times. For our calculated 0.176 W, a resistor with a dissipation power of at least 0.25 W (or better yet, 0.5 W) is perfectly suited, ensuring it does not operate at its temperature limits.
When working with microcontrollers (like Arduino or ESP32), voltages rarely exceed 3.3V or 5V, so power dissipation issues are minimal. However, SMD resistor alphanumeric marking can be misleading.
For convenience, we created an SMD resistor calculator↗ that not only deciphers the resistance value but also shows its geometric size and rated power, supporting the EIA-96 standard.
How to best connect multiple LEDs: Series vs. Parallel Connection?
If you need to connect multiple LEDs to a single power supply, there are two classic routes:
- Series Connection (Recommended): Ideal for 12V or 24V sources. You connect the diodes in a chain (positive to negative) and use only one resistor for the entire string. LED voltages sum up, and circuit efficiency rises sharply because minimum excess voltage is dropped across the resistor.
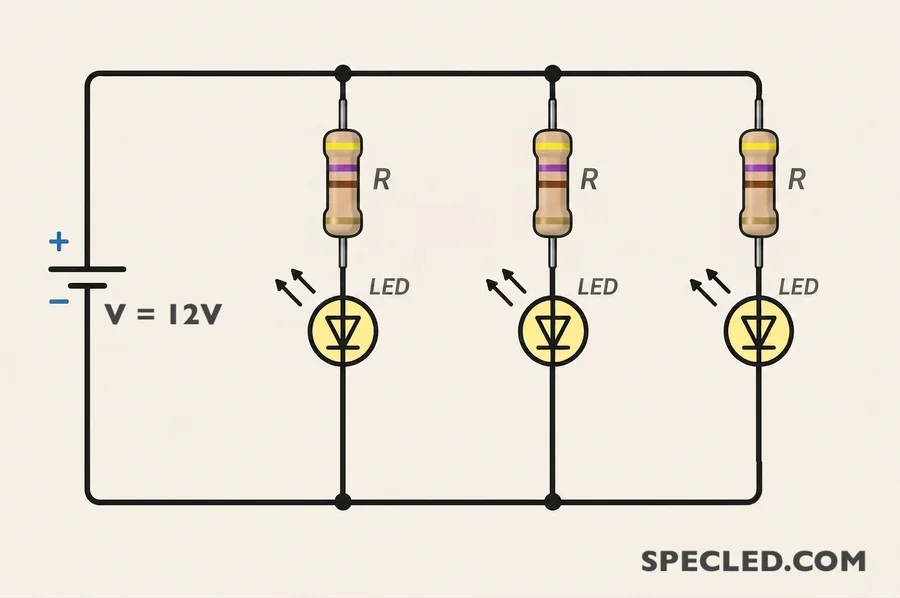
- Parallel Connection: If you connect LEDs in parallel, each LED needs its own individual resistor. Installing one shared powerful resistor for a parallel assembly is undesirable. Due to manufacturing tolerances in I-V characteristics, one diode will take slightly more current than others.
Summary
Current limiting is the foundation of LED crystal survival. Using calculators and precise mathematical calculations guarantees a long service life for your LED device.
If you attempt to calculate a resistor for high current (e.g., 500 mA) with a large difference between Vin and Vled, our widget will immediately provide a recommendation: use a special dedicated LED driver, as a resistor is not the best solution for high-power applications.