Mean Well XLG-25 and XLG-50 LED Drivers: How to Figure Out the Setup?
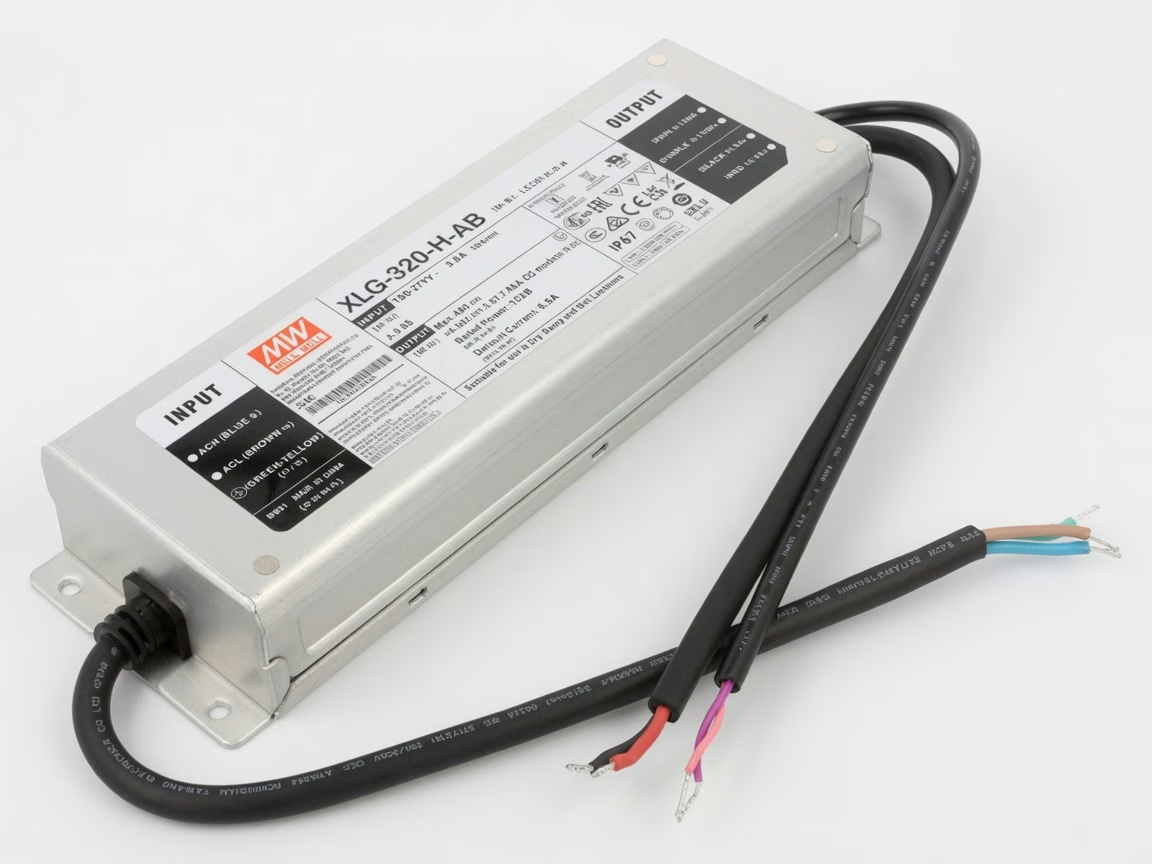
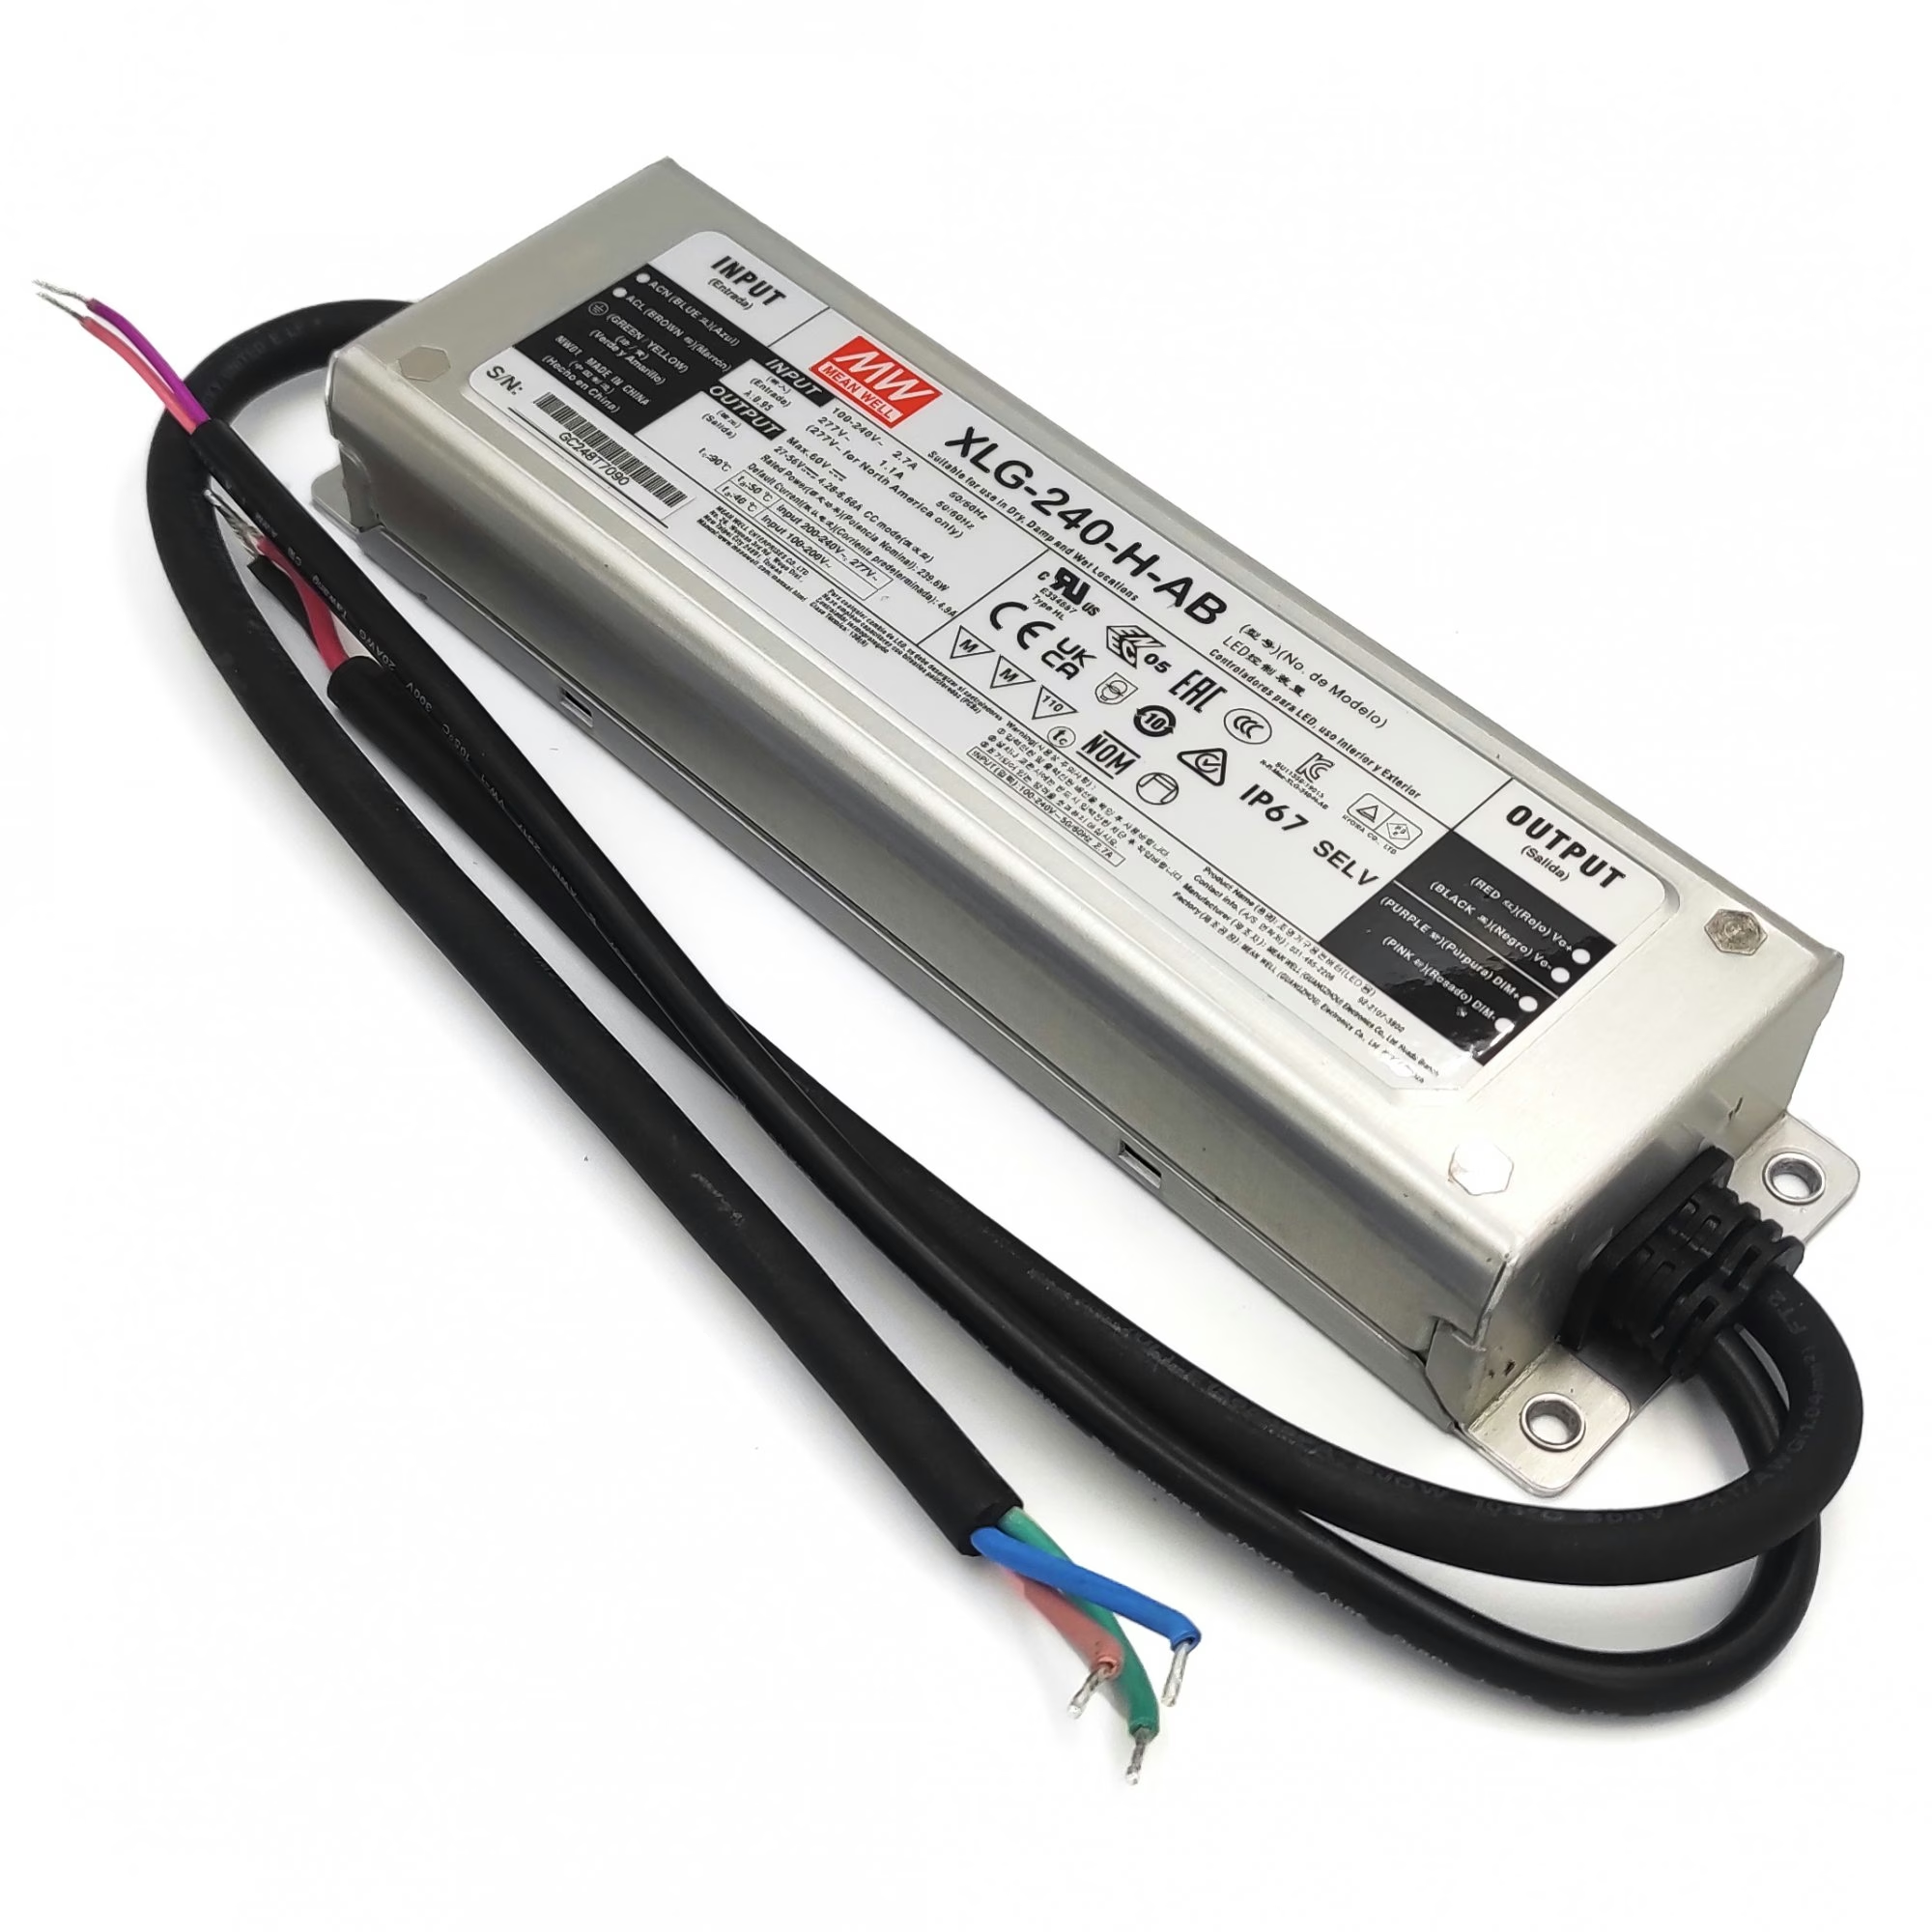
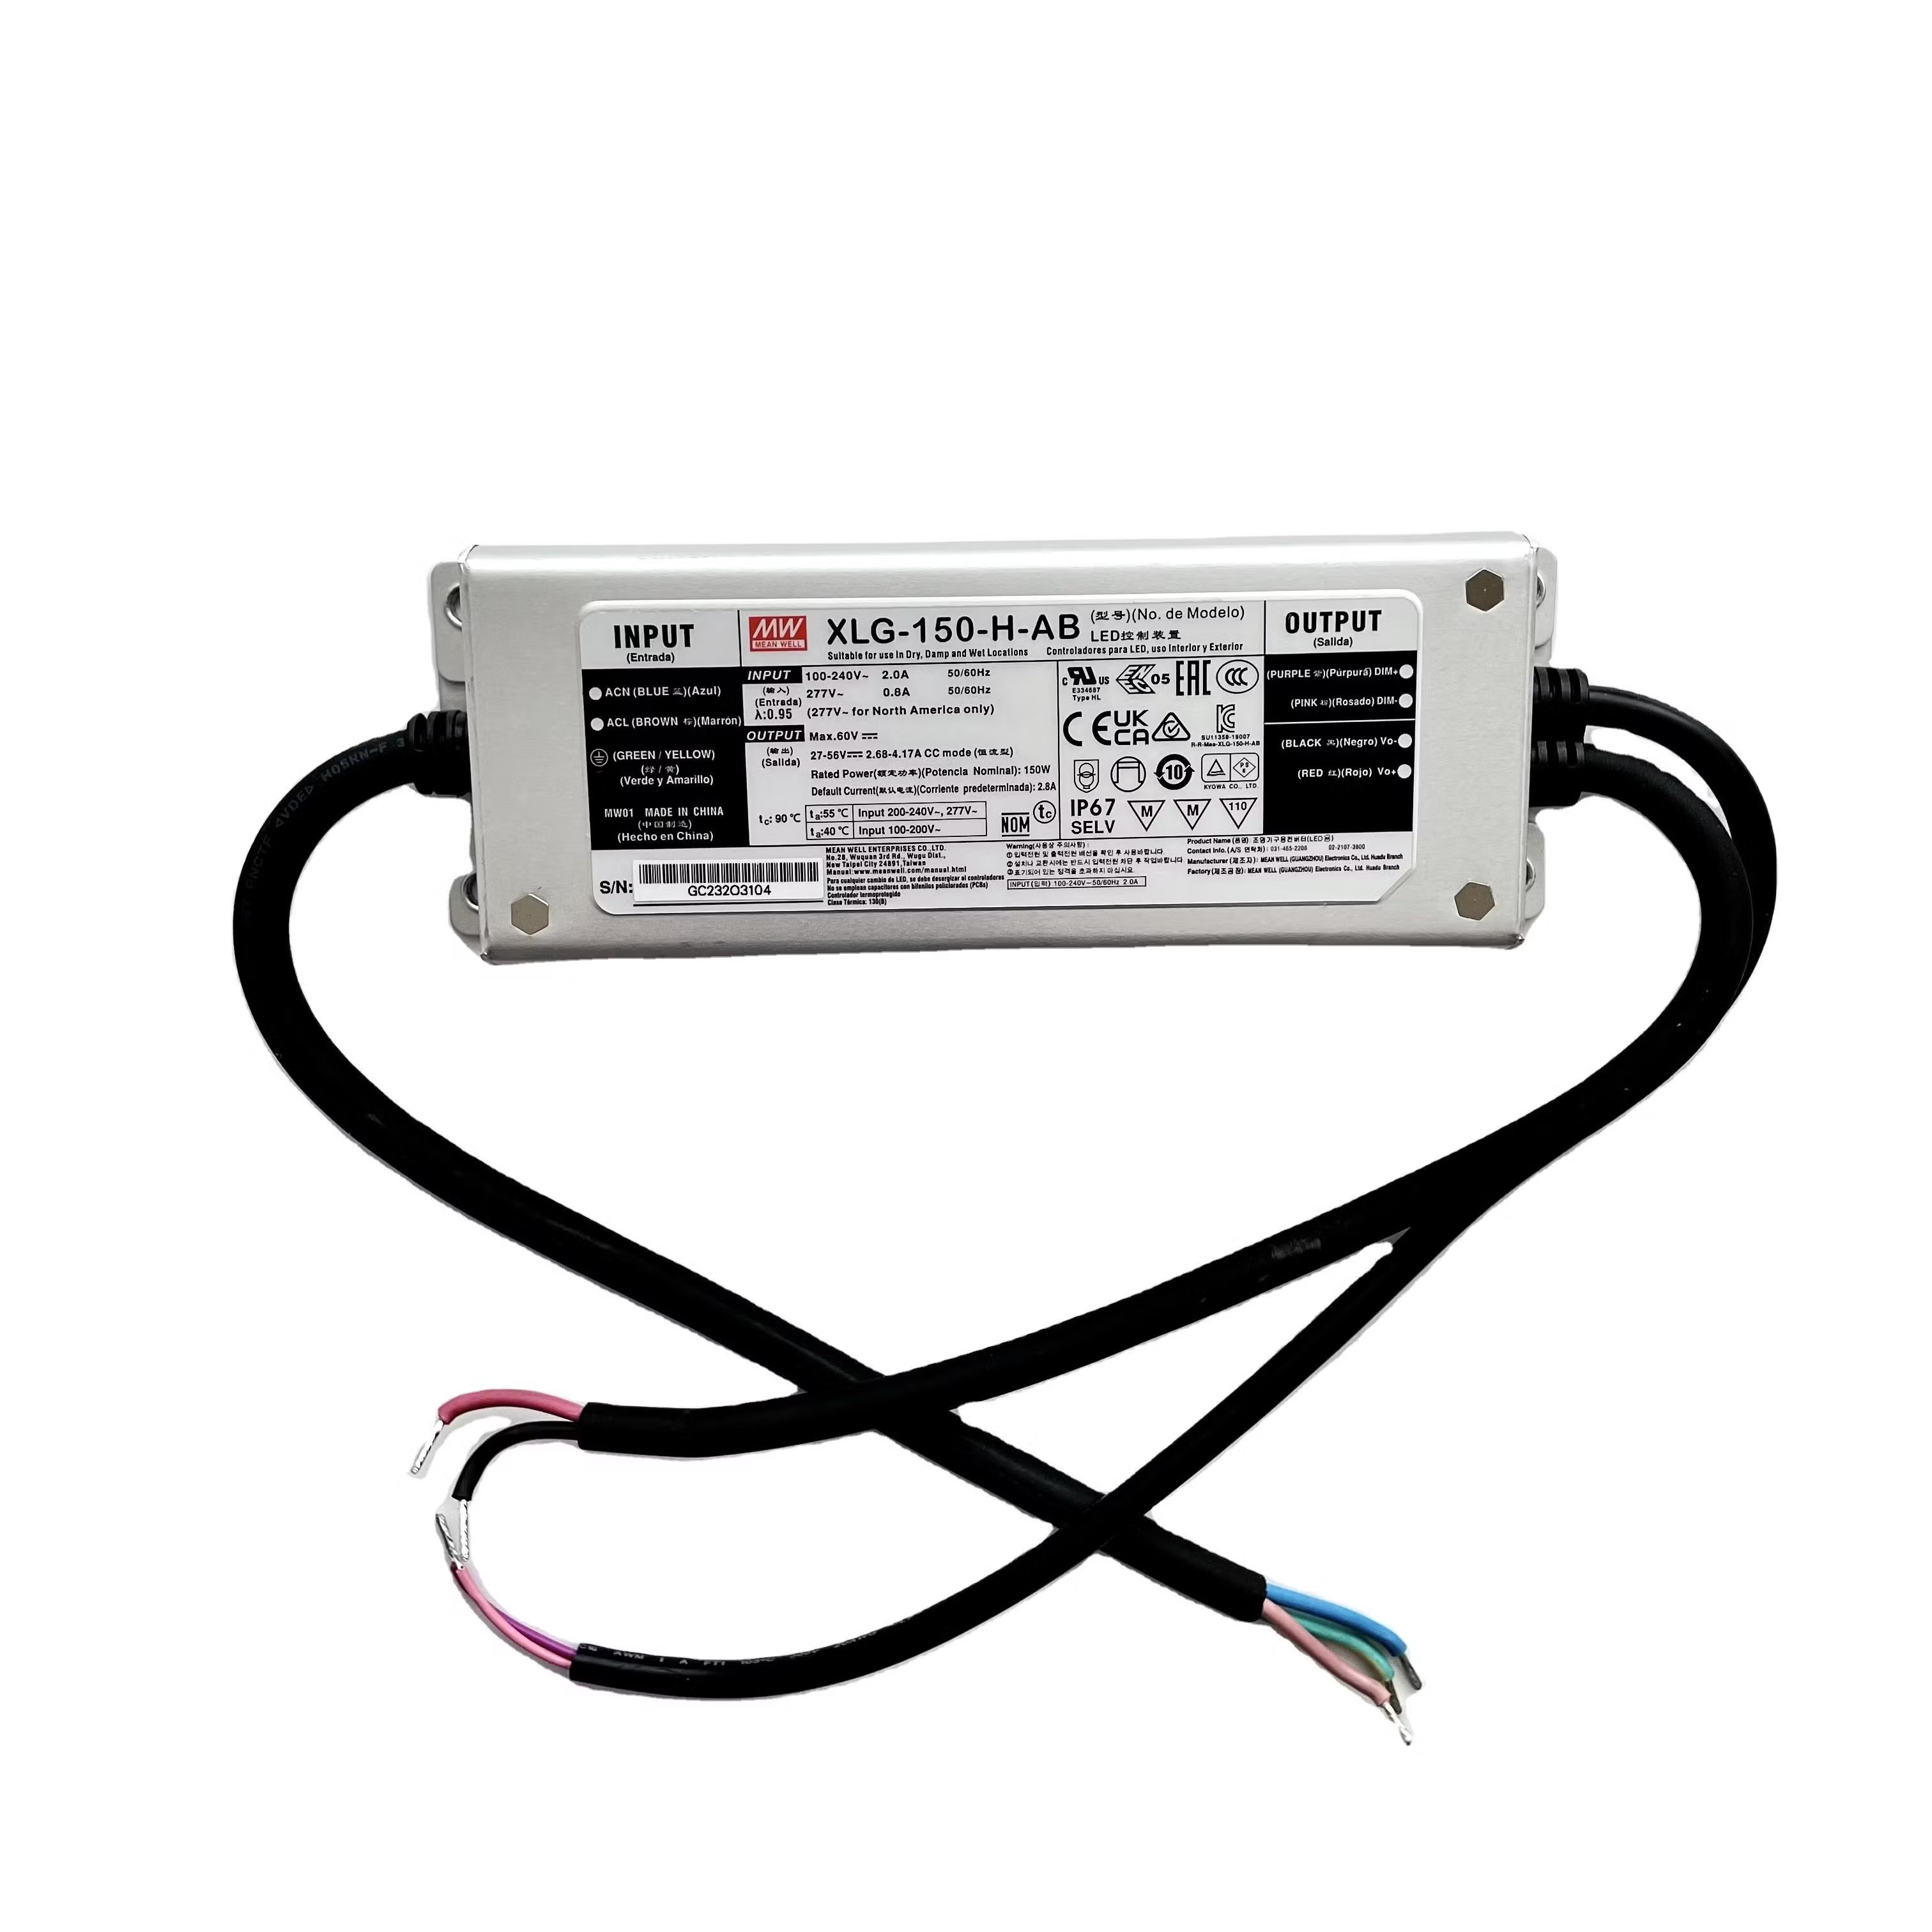
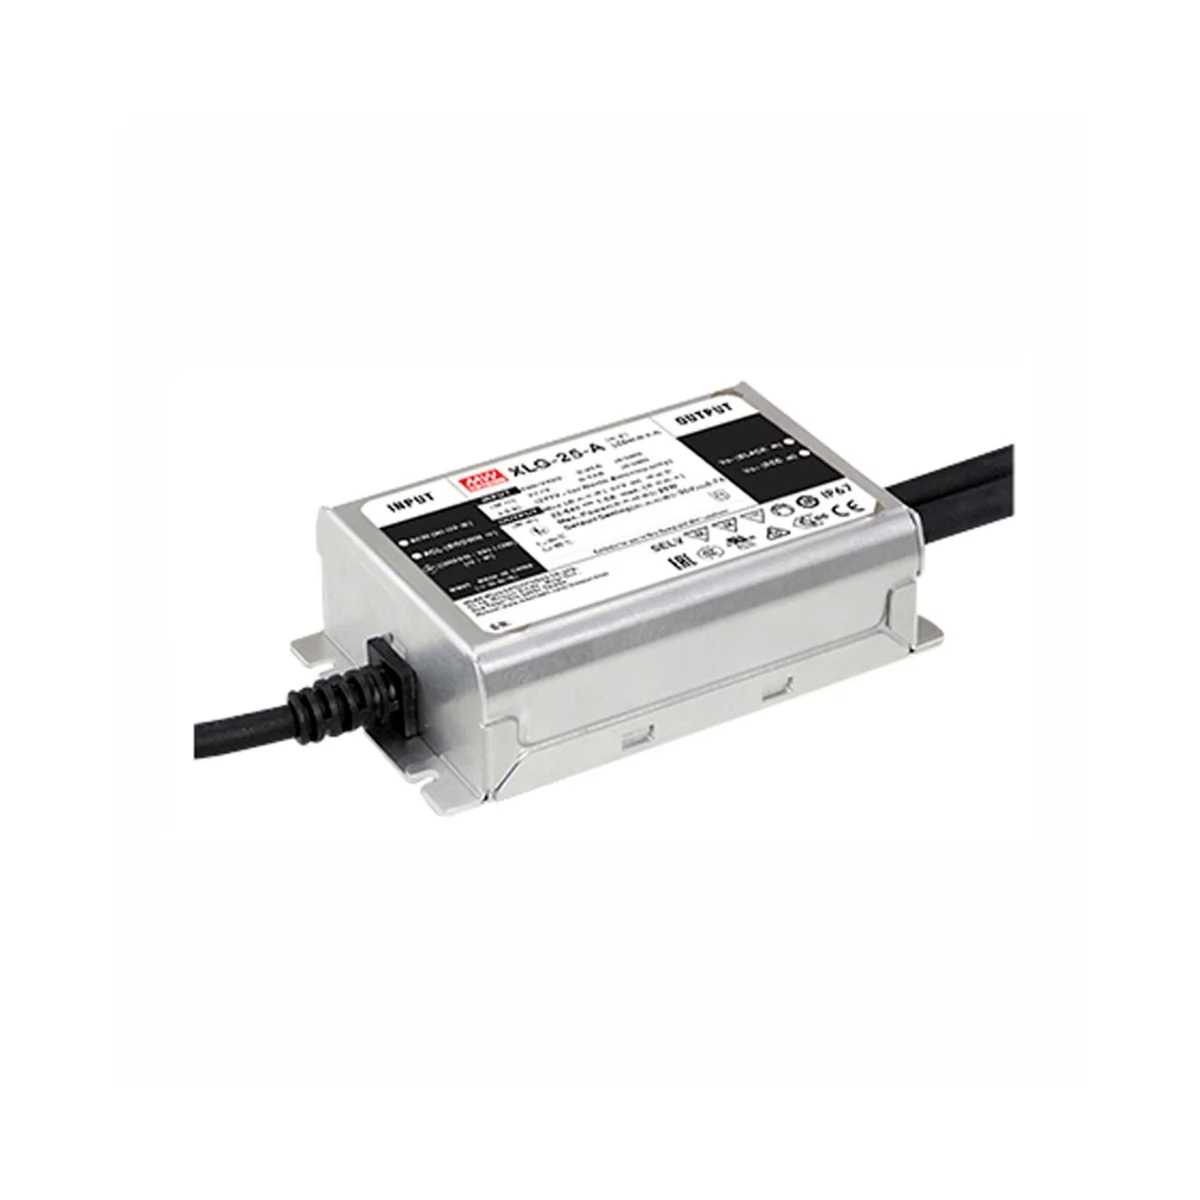
This is when "small" is not a synonym for "bad"! An LED driver from Mean Well with a capacity of 25W and 50W in the XLG series is an excellent compact solution for medium and low-power led lighting equipment, featuring industrial standards with IP67 protection and high efficiency in a miniature metal case. In this article, I want to specifically highlight the junior models of the series — XLG-25 (25W power) and XLG-50 (50W power).
If you need to select an LED driver based on your specific parameters, such as output voltage and current range, or if you have specific LED module specifications that require proper power supply, you can use our widget led driver selection↗. The widget's database includes over 170 driver models from leading manufacturers: MeanWell, Helvar, Lifud, and Tridonic.
What are XLG-25 and XLG-50 drivers used for?
Thanks to their compact size (they are significantly smaller than the mid-sized XLG-150), these drivers are perfectly suited for projects where space is strictly limited or high power is not required. A high-quality low-power led driver is indispensable in the following areas:
- Architectural lighting: illuminating building facades, niches, cornices, and decorative elements.
- Landscape lighting: powering outdoor LED fixtures, ground lights, and tree illumination (IP67 protection means you don't have to worry about rain).
- Local grow lighting: an ideal choice for small home grow boxes, seedling racks, or mini-greenhouses.
- Commercial lighting: illuminating showcases, jewelry stands, and signs where the absence of flicker is critical (Flicker-free).
- Custom DIY projects: building desk lamps, aquarium lighting, and workspace illumination.
The Main Datasheet Mystery: The Polygonal I-V Curve
Even though the 25W and 50W drivers do not have sub-groups like L, M, and H, they still require configuration and an understanding of the datasheet. Unlike cheap Chinese alternatives that output a strictly fixed current (for example, exactly 700 mA), the XLG-25 and XLG-50 models operate using a smarter algorithm. If you need to understand the settings for more powerful XLG 100-320W LED drivers, we recommend going to the article on current graphs in the Mean Well XLG series LED driver datasheets↗.
If you open the datasheet, instead of one boring number, you will see a complex polygonal graph called the I-V Operating Area. The shaded region depicted on this graph is the Constant Power zone.
What does this mean in practice? The driver can adapt to your load (not entirely on its own; you have to tell the driver what the load will be). For example, the XLG-50 model can output 1050 mA at 48 V, but if you connect a matrix with a voltage of only 24 V, the smart led driver will allow you to "crank up" the current all the way to 2100 mA to maintain the total power around 50 W. The right curved boundary of the graph is the actual physical power limit of the device. Obviously, if you connect a 36V matrix to an XLG-50 LED driver, the driver won't be able to deliver 2.1A, because 36V * 2.1A = 72W, which is greater than the driver's 50W capacity.
Step-by-Step Setup: How to Adjust the Current?
Confirmed via the I-V curve in the datasheet? No, using the widget will be much more convenient! And once you've ensured your parameters are within the allowable (shaded) zone, you can proceed to the physical setup. Please note: the current adjustment function (Io ADJ) is available in modifications with the "A" and "AB" index (for example, XLG-50-A). The -AB index means you can additionally control the brightness with an external dimmer. The external dimmer controls the driver, while the internal dimmer configures the driver. These are two fundamentally different things.
Setup process:
- Locate the potentiometer: Flip the LED driver over. On the bottom metal cover, you will see a small black rubber plug. Carefully pry it up and remove it.
- Prepare your tool: Under the plug is a tiny adjustment screw (potentiometer). You will need a flathead (a tiny watchmaker's type) or a Phillips screwdriver of the correct size. Using a screwdriver that is too large can damage the potentiometer slots.
- Connect a multimeter: Never adjust the current "by eye". Connect a multimeter in DC measurement mode (Amperes) in series in the circuit between the driver and the LEDs — strictly in series!
- Adjustment: Turn the potentiometer dial to the extreme left position (current = 0). Turn on the power. Slowly rotate the screwdriver. Clockwise increases the current, counterclockwise decreases it. Set it to your pre-calculated current value.
- Completion: Be sure to firmly reinstall the rubber plug. This is critically important to maintain the driver's hermetic seal (IP67).
Summary
The Mean Well XLG-25 and XLG-50 drivers are professional tools. Despite their modest power, they feature a full-fledged Constant Power topology, making them incredibly flexible to use. By correctly calculating the operating area (I-V curve) and properly setting the output current, you ensure your LEDs will have many years of stable operation without overheating or degrading. XLG25/50 drivers with the -AB marking support full-featured 3-in-1 external dimming: 100kOhm resistor, PWM, and 0-10V signal.
When connecting an LED module to a driver, it's important to select the correct wire cross-section for the AC circuit (outlet → driver) and for the DC circuit (driver → LEDs). Proper wire cross-section selection is essential for safety, as well as for ensuring the reliable and stable operation of the entire device for many years. To make this selection simple, we've created a wire gauge calculator↗ with advanced features. Our widget takes into account wire resistance, line length, and DC or AC voltage. It can also calculate the wire cross-section for a three-phase line.