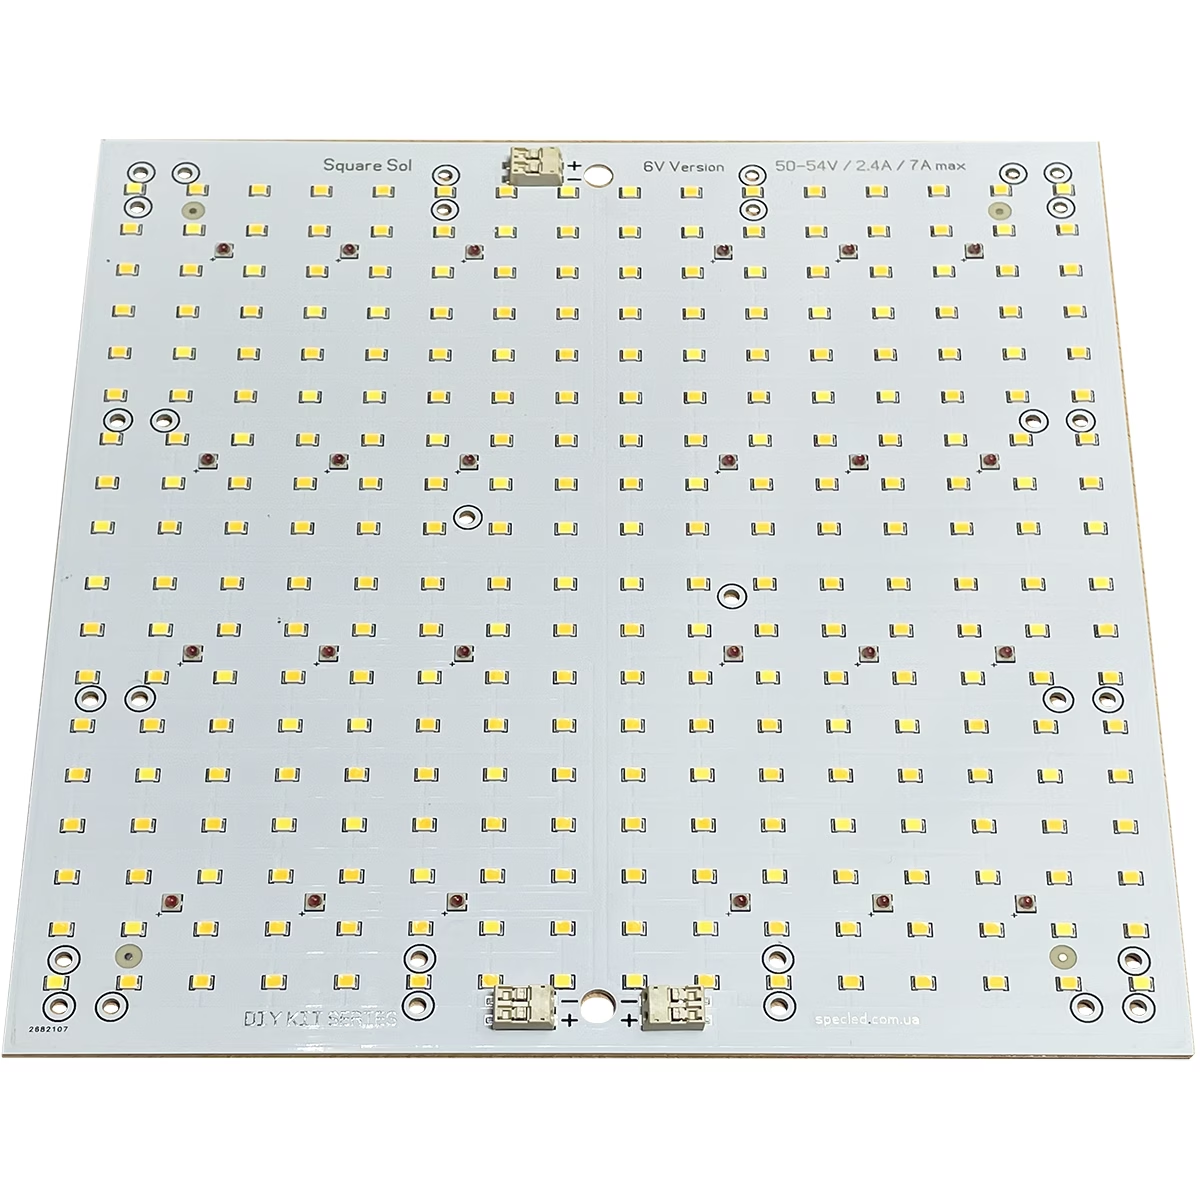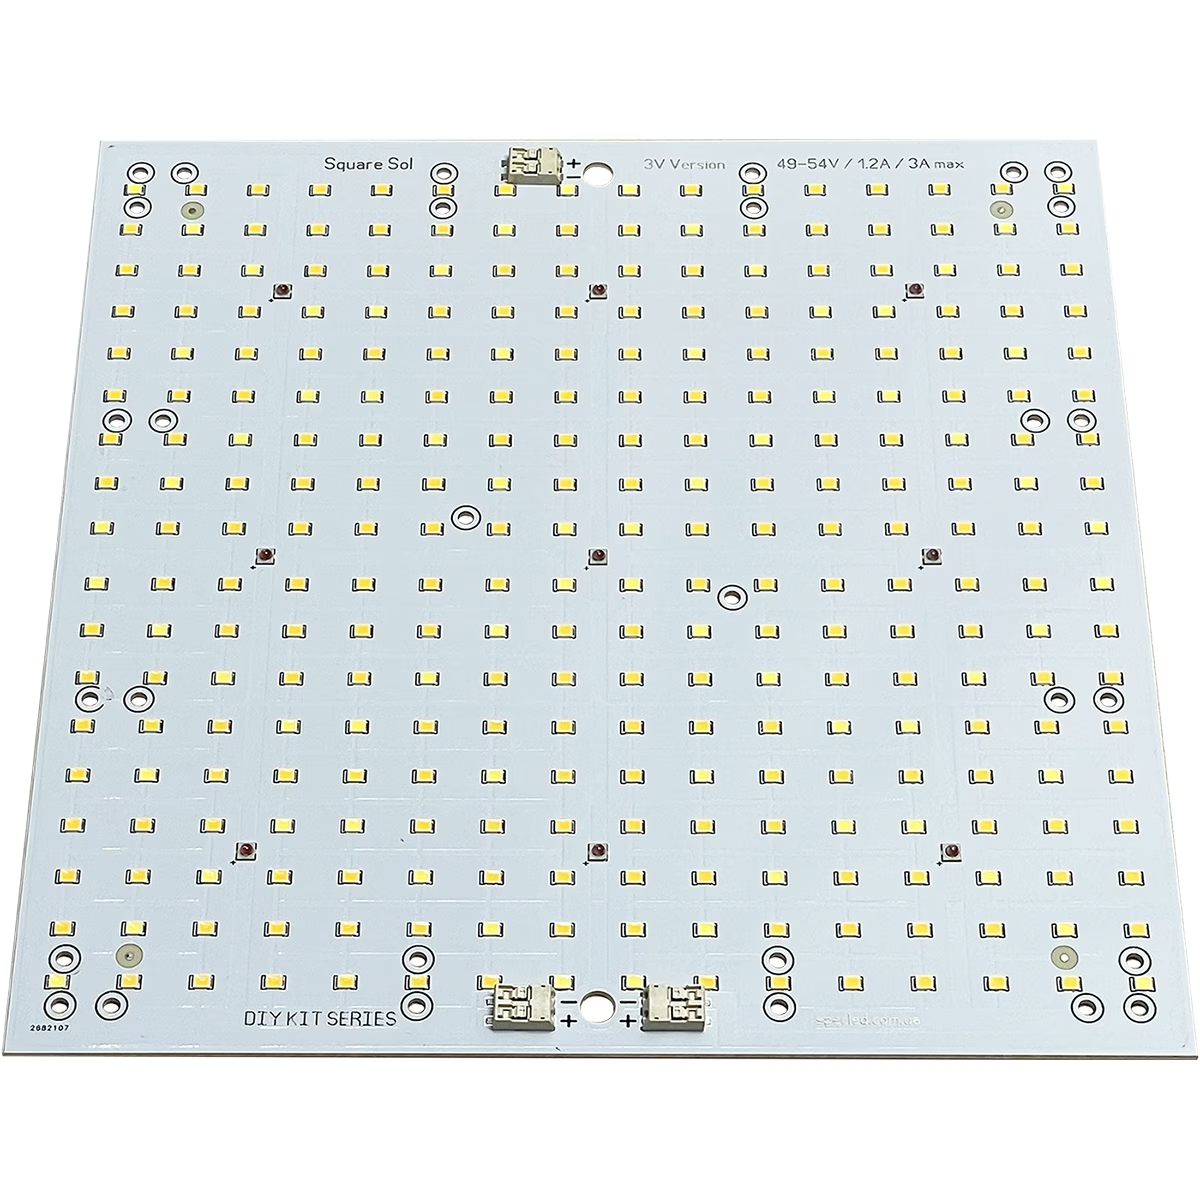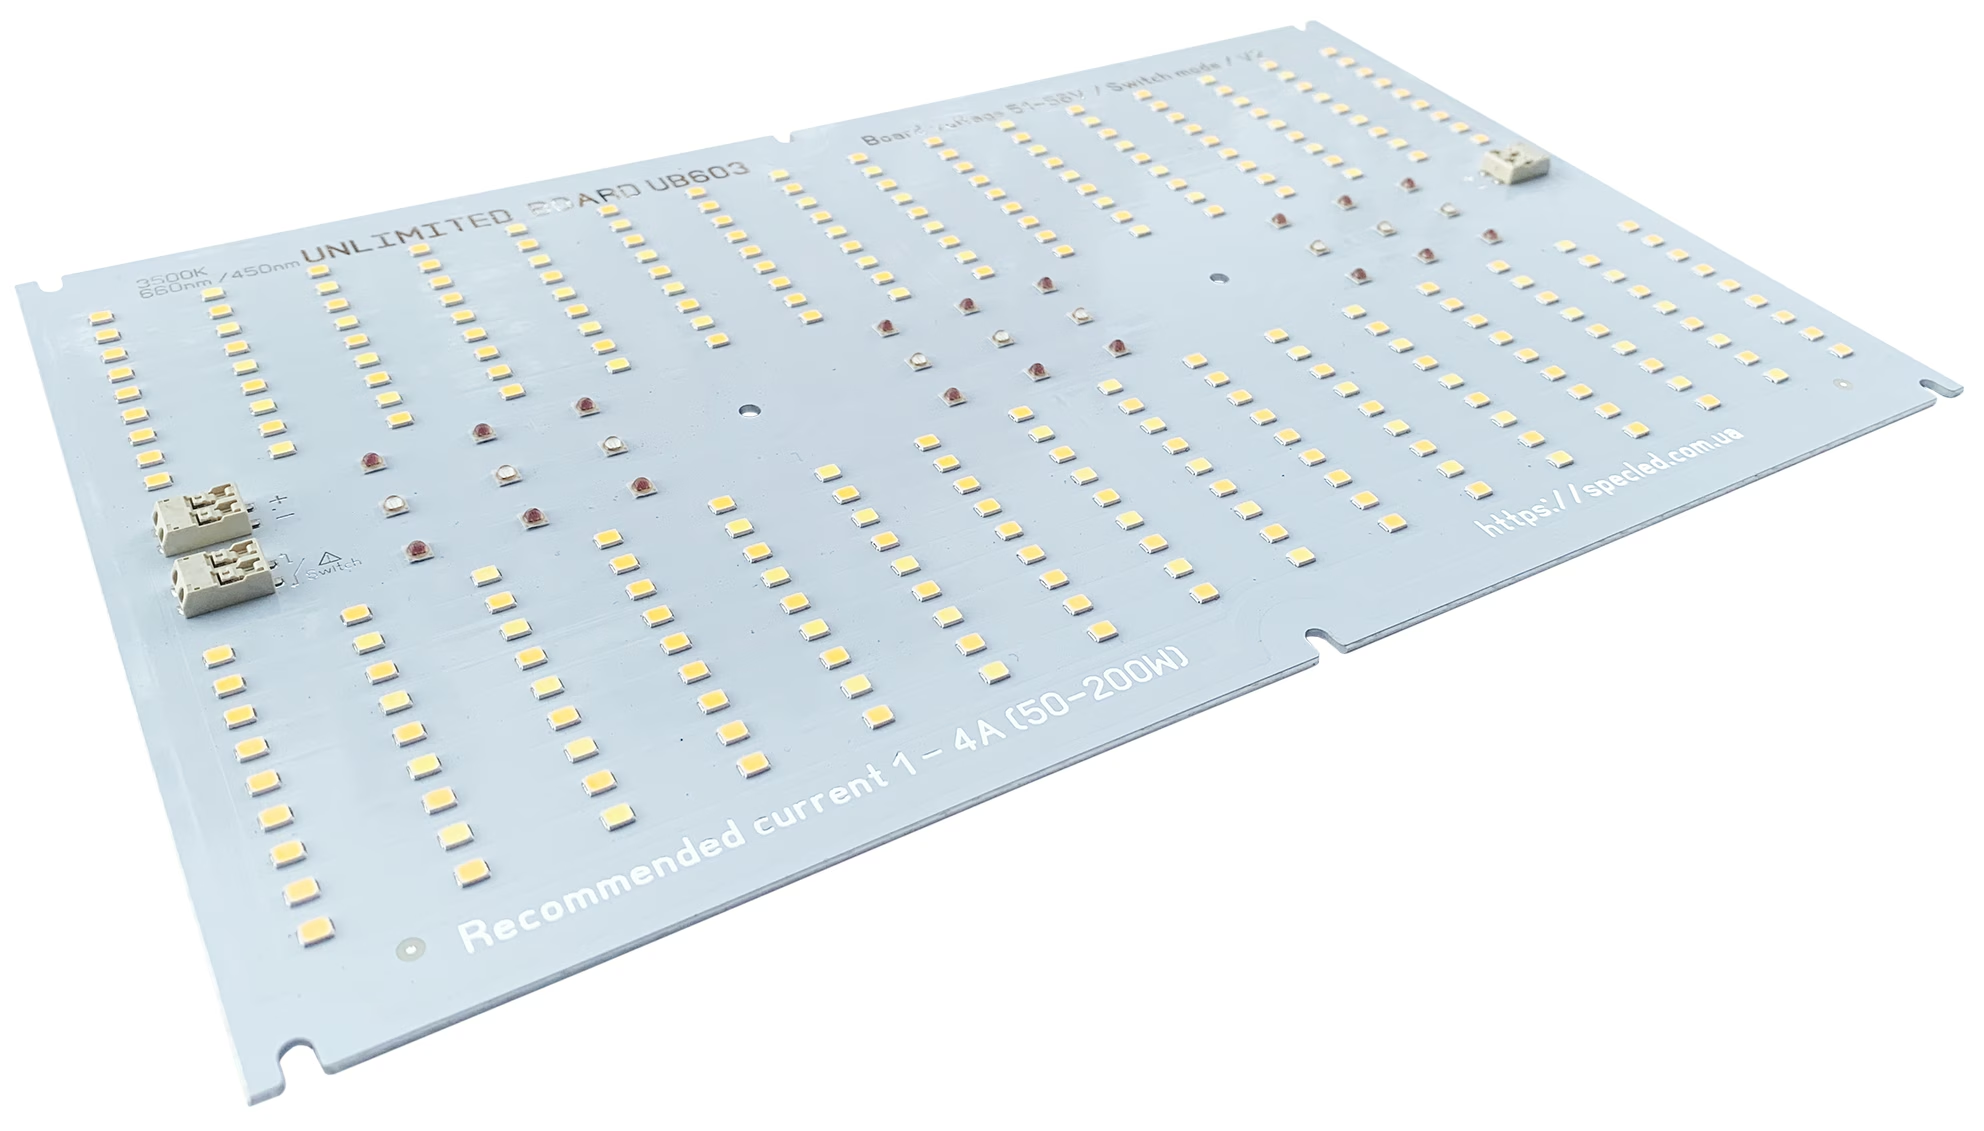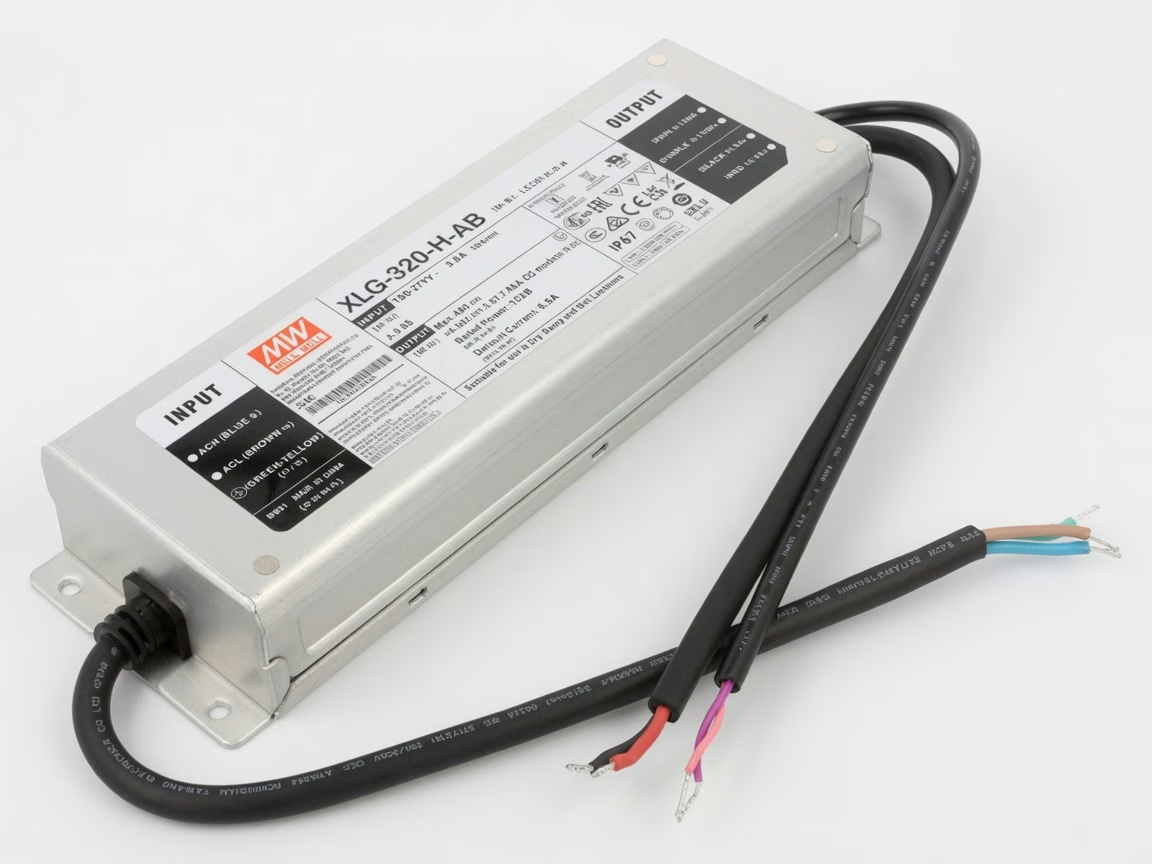
Creating effective lighting for indoor plant cultivation has long gone beyond simply choosing powerful bulbs. Modern growing requires a precise mathematical approach. If you’ve decided that your next system will be a diy grow light, you will inevitably face a complex engineering challenge: how to choose LEDs for a grow light to get the desired spectrum curve, avoid overpaying for unnecessary watts, and provide the ideal photomorphogenesis for your plants.
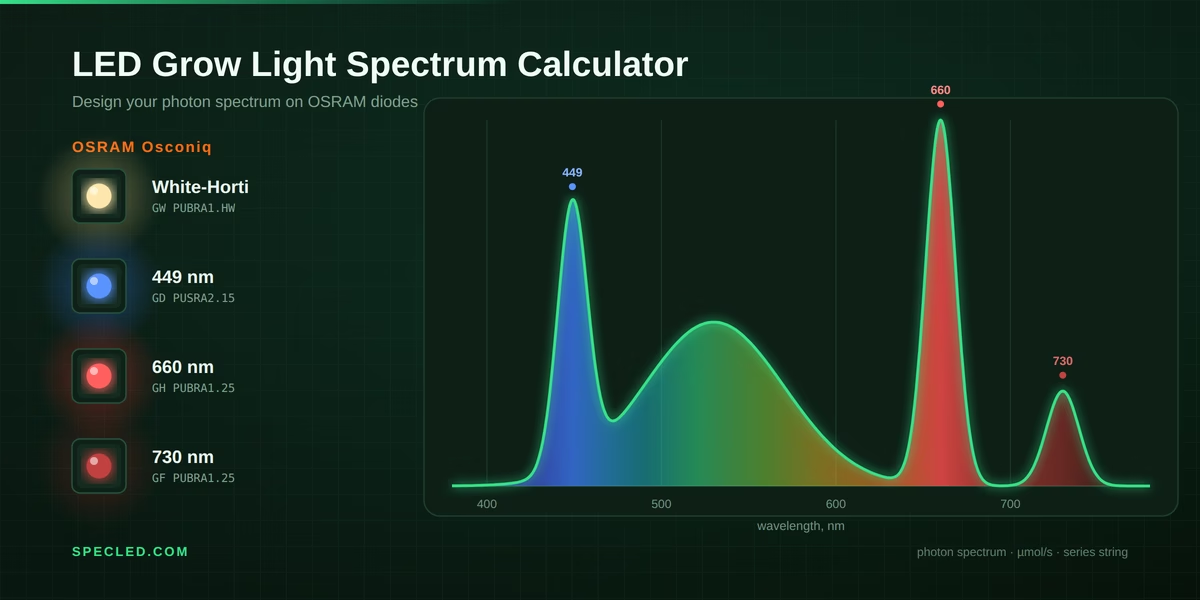
To solve this exact problem, we developed a professional grow light spectrum calculator. This isn’t just beautiful website animation; it is a strict mathematical simulator where every pixel of the graph is based on the official datasheets from the world’s leading semiconductor manufacturer — ams OSRAM. Our spectrum calculator allows you to mix channels in real time, and the algorithm itself will calculate exactly how many specific diodes you need to bring your project to life.
When you need to obtain the resulting spectrum and calculate output parameters such as CCT, CRI, CQS, Duv, PPE, and other luminous flux characteristics, use the accurate light source spectrum simulation tool↗. The tool allows you to obtain the resulting spectrum in the visible range by mixing the spectra emitted by different light sources.
Why Did We Choose OSRAM?
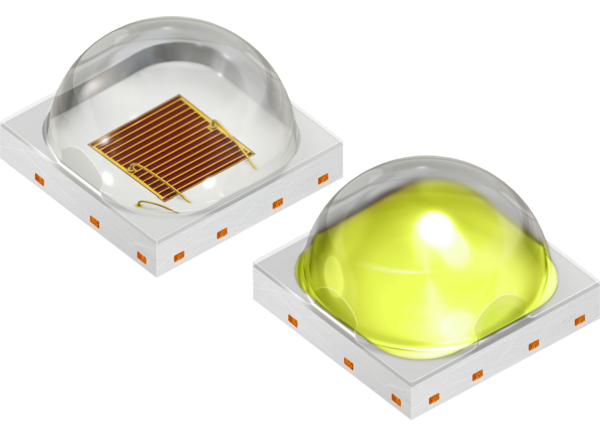
There are many brands on the market, but one is the undeniable leader: OSRAM. They offer maximum efficacy in micromoles per joule (µmol/J), excellent datasheets, and thoughtful engineering. The osram horticulture leds lineup is designed specifically for the agricultural industry. Our simulator uses data from real, top-tier models (in the year 2026 AD):
- GW PUBRA1.HW S6T3-M6 — specialized white diodes for plants;
- GH PUBRA1.25 T3U1 — deep red (Hyper Red 660 nm);
- GD PUSRA2.15 T2T4-24 — deep blue (Deep Blue 449 nm);
- GF PUBRA1.25 S7T3 — far red (Far Red 720 nm);
- GW CPSRM1.CM 3000K and GW CPSRM1.PM 5000K — powerful white diodes to create a broad base, a standard for general lighting.
Each of these components has unique characteristics. Using these specific models allows you to design an uncompromising osram led grow light that will outperform most ready-made commercial solutions in efficiency.
The Mystery of the White LED Spectrum for Plants: Why is 600-630 nm Cut Off?
If you look closely at the spectrum graph of specialized white diodes, such as the GW PUBRA1.HW S6T3-M6 horticulture, you'll notice an interesting feature: a distinct "dip" in the orange-red zone (600-630 nm) right before the sharp peak at 660 nm. Beginner growers often ask: is this a defect? Why not make the graph smoother, like standard white LEDs, and cover the 630 nm range?
The reason for the "hole" after 600 nm lies in how a white LED is made in the first place. White = blue crystal (~449 nm) + phosphor, which re-emits a portion of the blue light into the yellow-green-red region. The shape of the hump in the long-wave section is entirely determined by the phosphor composition.
Standard white (for general lighting) is optimized for the human eye and a high CRI. For colors to look natural, it needs a "full" red tail between 600–660 nm. Therefore, manufacturers add red phosphors (nitrides, like CASN/KSF), which perfectly fill the 600–630 nm zone. That’s why household white light has a "smoother" spectrum in the red region.
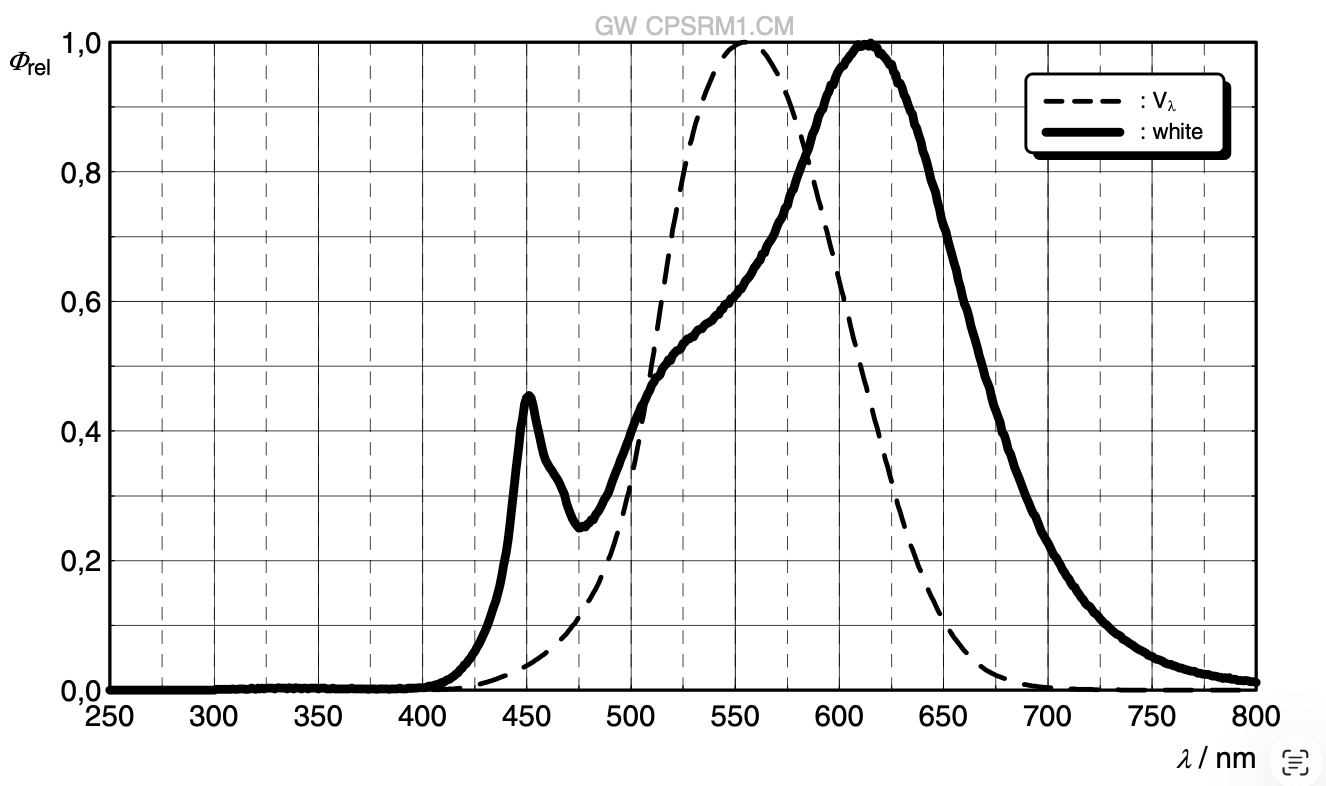
Horticultural white (your GW PUBRA1.HW) is optimized differently — for µmol/J, not for the eye. Red nitride phosphors have significant Stokes losses and emit some light into the far-red beyond the PAR range, meaning they "eat up" efficiency. Therefore, in horti-white, they are either removed or minimized. The result: the spectrum drops off earlier, creating a dip between 600–630 nm between the green-yellow phosphor hump and the red peak. The manufacturer deliberately sacrifices the fullness of the red to maximize µmol/J, and then red is added to the grow lights using a separate 660 nm monochrome diode (which is more efficient than any phosphor).
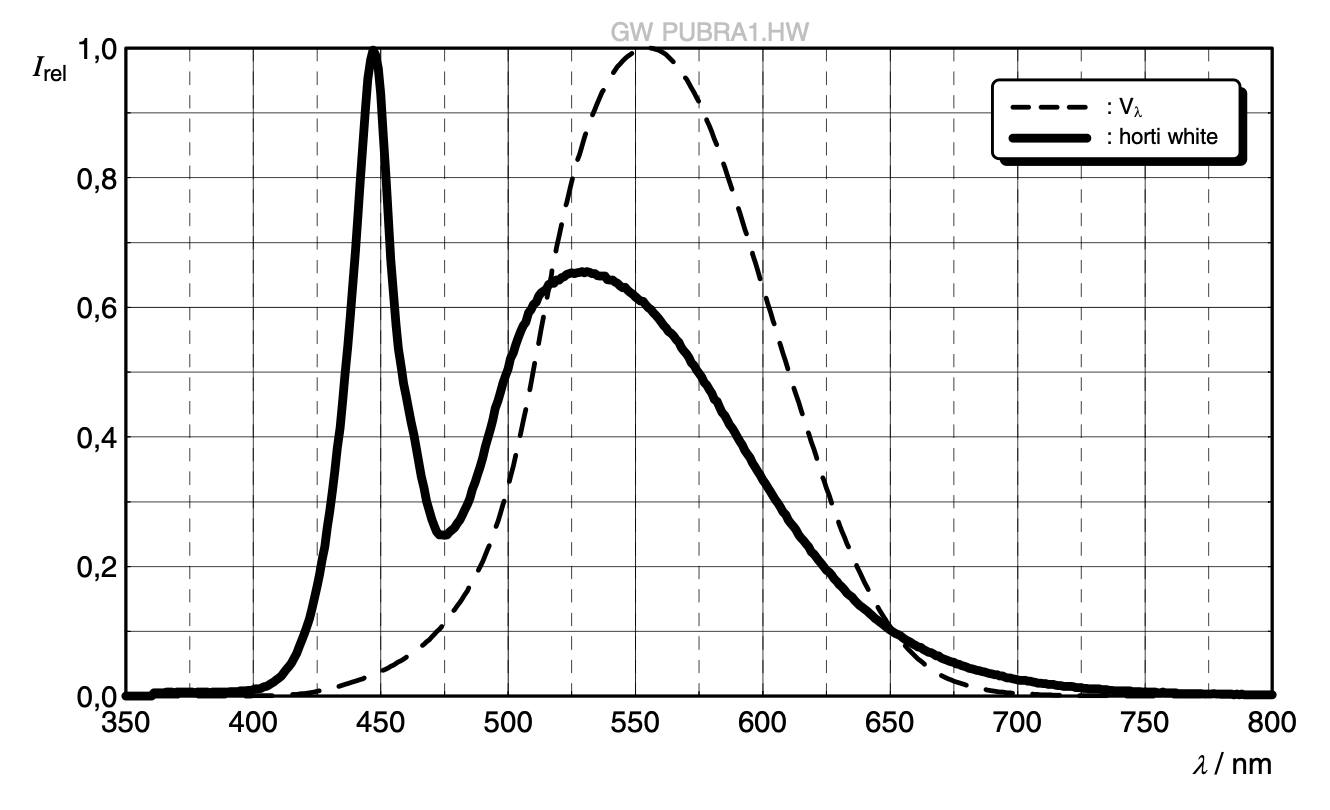
So the "hole" is not a defect; it’s an engineering compromise: horti-white yields more photons per watt, and the dip is covered by adding 660 nm. This is exactly how modern quantum boards are built: horti-white + separate 660 nm diodes. Furthermore, these LEDs are typically used in greenhouse lighting, where the low light levels in the 590-630 nm range will be supplemented by sunlight, while electricity is converted into light photons as efficiently as possible.
Due to the emergence of a wide variety of full-spectrum LEDs, often non-standard, the need arises to compare spectrograms of different LED series or even compare spectrograms of LEDs from different manufacturers. To simplify this task, we created a tool for digitizing the spectrum of LEDs and other light sources↗ from a screenshot of a spectrogram in a datasheet. The tool also calculates useful metrics after digitizing the spectrum, such as CCT, CRI, CQS, TM-30, and much more.
How Our DIY LED Grow Light Calculator Works
We know that when designing custom lighting systems, correct calculations are everything. Just as it is important to consider voltage drops across long LED chains to select a driver, it is critical to balance the photons. Our grow light led calculator translates abstract graphs into an understandable ratio of required LEDs for your plants.
Step 1: Forming the Base
Start by adding white channels. You can use specialized HW S6T3-M6 diodes or the classic 3000K + 5000K combination. Move the intensity sliders in our diy led grow light calculator to set the base spectrum, which will provide plants with green photons to penetrate the lower layers of the canopy.
Step 2: Boosting Photosynthesis
Plants need a powerful turbo boost. Add Osram 660nm (model GH PUBRA1.25) to the spectrum. Watch how the graph changes shape and the yield curve shoots up. The presence of a 660 nm peak is critically important for efficient plant growth.
Step 3: Morphology Control
If your goal is to stimulate early flowering or control bush stretching, carefully mix in far red (GF PUBRA1.25) or deep blue (GD PUSRA2.15). The simulator will instantly recalculate the R:FR (red to far-red ratio) metrics and show the PAR fractions for each range.
Step 4: Getting the Result
Once you are visually satisfied with the curve, pay attention to the information block below. The simulator will automatically calculate exactly how many Osram LEDs for grow lights of each specific model you need to solder onto the board to physically recreate what you just modeled on the screen.
Step 5: Analyzing Light Output Values
The simulator calculates the total PPF in μmol/s — letting you know immediately if there is enough power or if you need more.
The overall efficiency of the grow light in μmol/J — monochrome LEDs have higher efficiency, which means the overall efficiency will change according to the ratio of these LEDs in the light. Efficiency also depends on the current: a lower current means higher efficiency, and vice versa.
The estimated LED crystal temperature given a known heatsink temperature — the calculation considers the actual thermal resistance of the LEDs but does not account for the structural features of your specific board and heatsink. This is perhaps the least precise indicator in our widget.
Margins of Error and the Real World: What to Keep in Mind
We take pride in the accuracy of our tool, but as engineers, we must warn you: any simulator operates under idealized conditions. Your final fixture will have a slight spectral deviation, and here is why:
- Junction Temperature: The data in Osram datasheets is provided for a junction temperature of 85°C. Osram deliberately cut through the marketing fluff and provided real-world numbers in their datasheet. We took this into account and we appreciate it.
- Driver and Current: The spectrum claimed by the manufacturer is measured at a nominal test current. If you plan to "overclock" the LEDs by feeding them maximum current to save your budget, be prepared for minimal shifts in the spectral distribution.
- Binning: The manufacturer sorts LEDs into bins (for example, flux S6, S7 or voltage T3). Within a single bin, a microscopic spread of physical parameters is allowed.
Nevertheless, these deviations amount to only a few percent and cannot disrupt the overall lighting architecture. Our simulator provides enough precision to solve any professional agrophotonic task.
Building your own grow light is a fascinating process that combines botany, semiconductor physics, and microclimate programming. Use our calculator, experiment with ratios, rely on mathematics, and build the best lights for your plants!
P.S. You may notice that this simulator is also perfect for modeling the control of grow light channels using a microcontroller, should the need arise. It is very convenient to set power ratios and configure your software for specific presets. Naturally, you can use LEDs from another manufacturer, though the margin of error will increase in that case.